
How to Add Activity Start Times for Viator in ExperienceBank
This article explains how to add a new start time for a product already mapped to Viator in ExperienceBank
Step 1: Log in to ExperienceBank
Open the ExperienceBank login page:
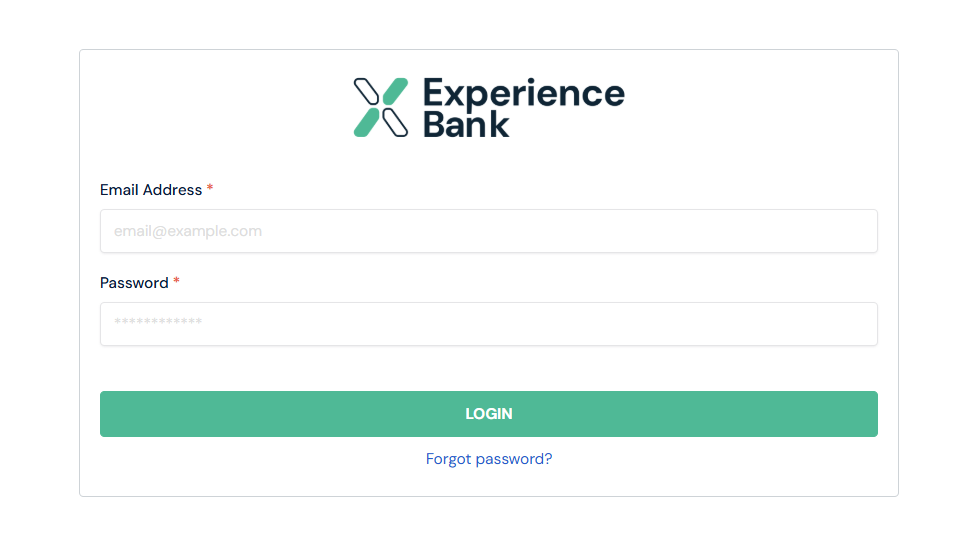
Use your supplier contact email address and password to log in.
If you forgot your password, click Forgot Password to reset it.
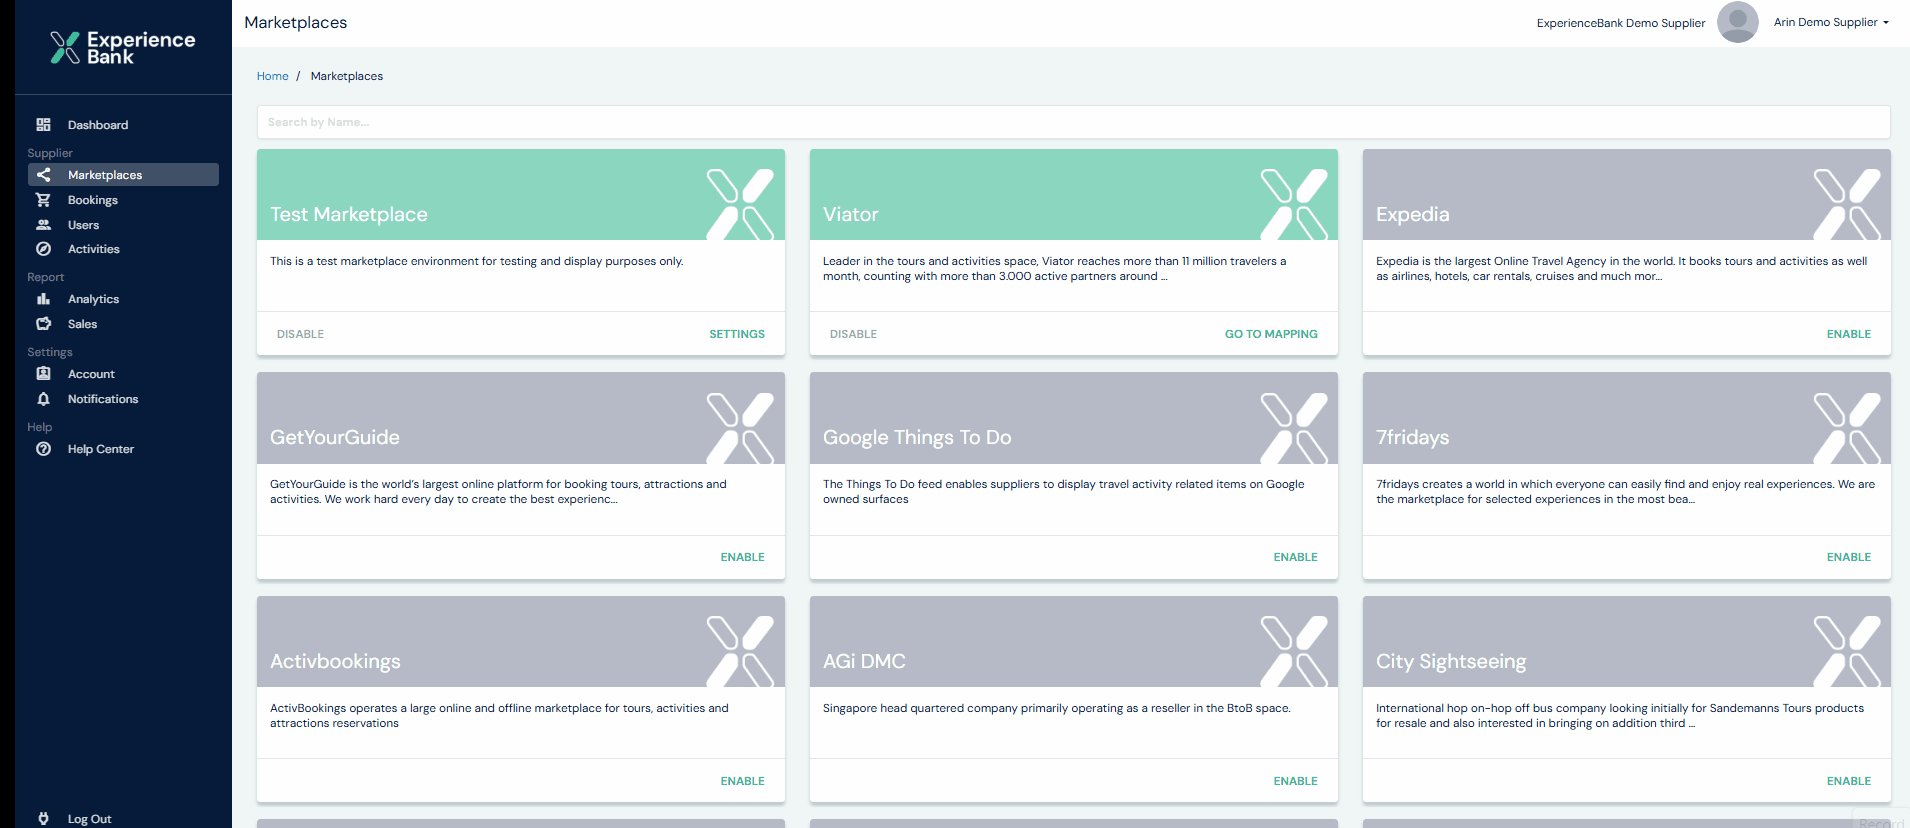
Step 2: Go to the Marketplace Page
After logging in:
- Go to the Supplier section in the left-side menu.
- Click Marketplace.
This page shows all marketplaces available in ExperienceBank.
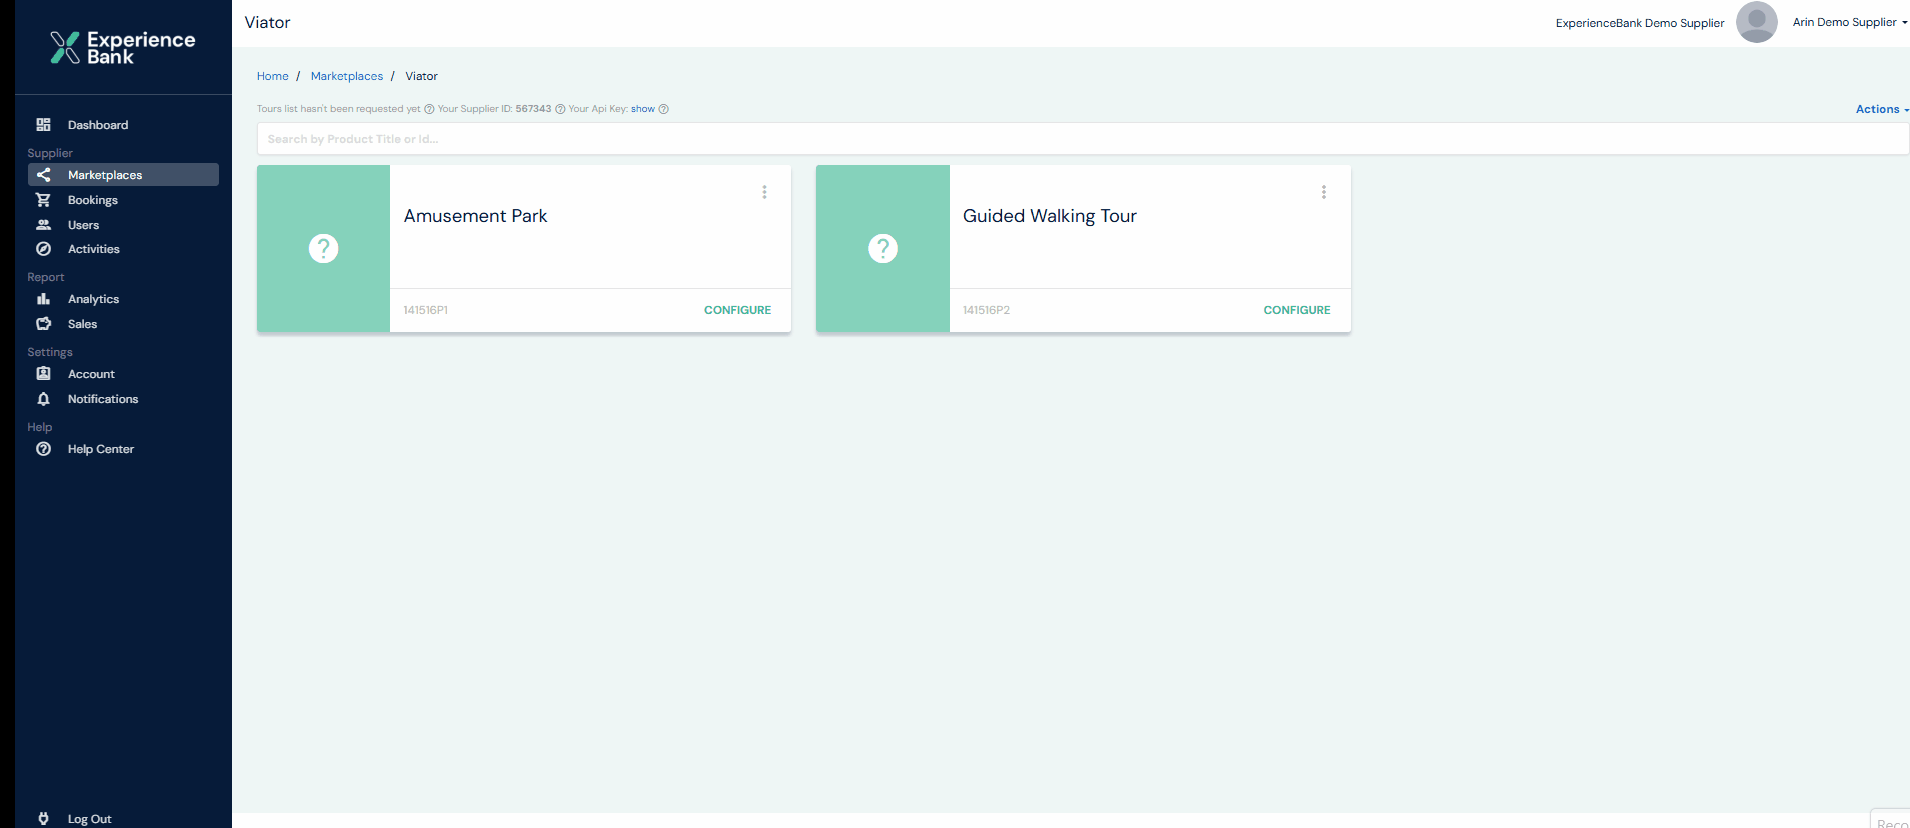
Step 3: Find Viator
On the Marketplace page:
- Use the search bar at the top of the page.
- Search for Viator.
You can also locate Viator manually from the list of available marketplaces.

Step 4: Open the Viator Mapping Page
Once you find Viator:
- Click Go to Mapping in the Viator section.
This will open the Viator product mapping page, where you can see the list of your mapped products.
Step 5: Add a Start Time to the Product
To add a new start time:
- Click the Configure button for the product you want to update.
- Click on the relevant product option to open the mapped option details.
- Click Step 1: Map Option to open the option settings.
- Once the option is open, click Add Start Time.
- In the Select Time dialog box, choose the new start time you want to add.
For example, in the attached GIF, 11:00 AM is being added as a new start time.
What Happens Next?
After adding the new start time, you can map it in ExperienceBank which is received from your booking system.
Once the new start time is mapped, it will be synchronized with your connected Viator account within a few hours.
This allows you to add a new start time to an already connected Viator product without disconnecting the existing mapped product option.