
Sales Report for Suppliers
How to generate Sales reports – For Suppliers

This article helps you to understand how to generate a Sales report at the Supplier Level. The report will be sent to an email address you specify during this process.
To generate the sales report from the ExperinceBank back office you need to follow the steps below.
- Login to ExperienceBank
- Navigate to the SALES page on the ExperienceBank Backoffice
- Request a sales report
Step 1. Login to ExperienceBank
Click on this URL https://app.experiencebank.io/ to open the ExperienceBank login page.
Now, use your supplier contact Email ID to login (In case, you forgot the password, you can click on the Forgot password link to retrieve your password).
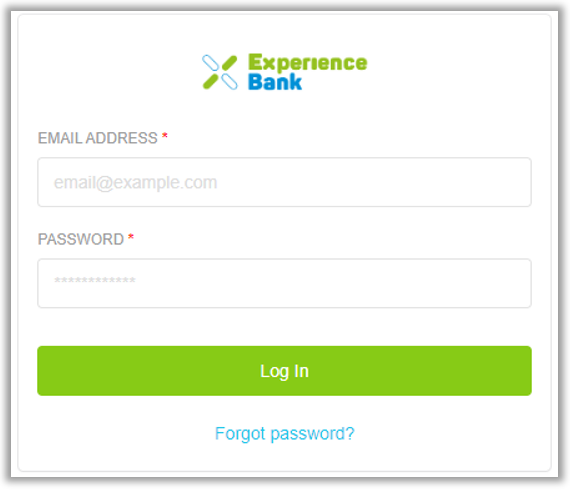
Note – Your login email ID & password for ExperienceBank, will be provided to you by your booking system when you first create an account with them.
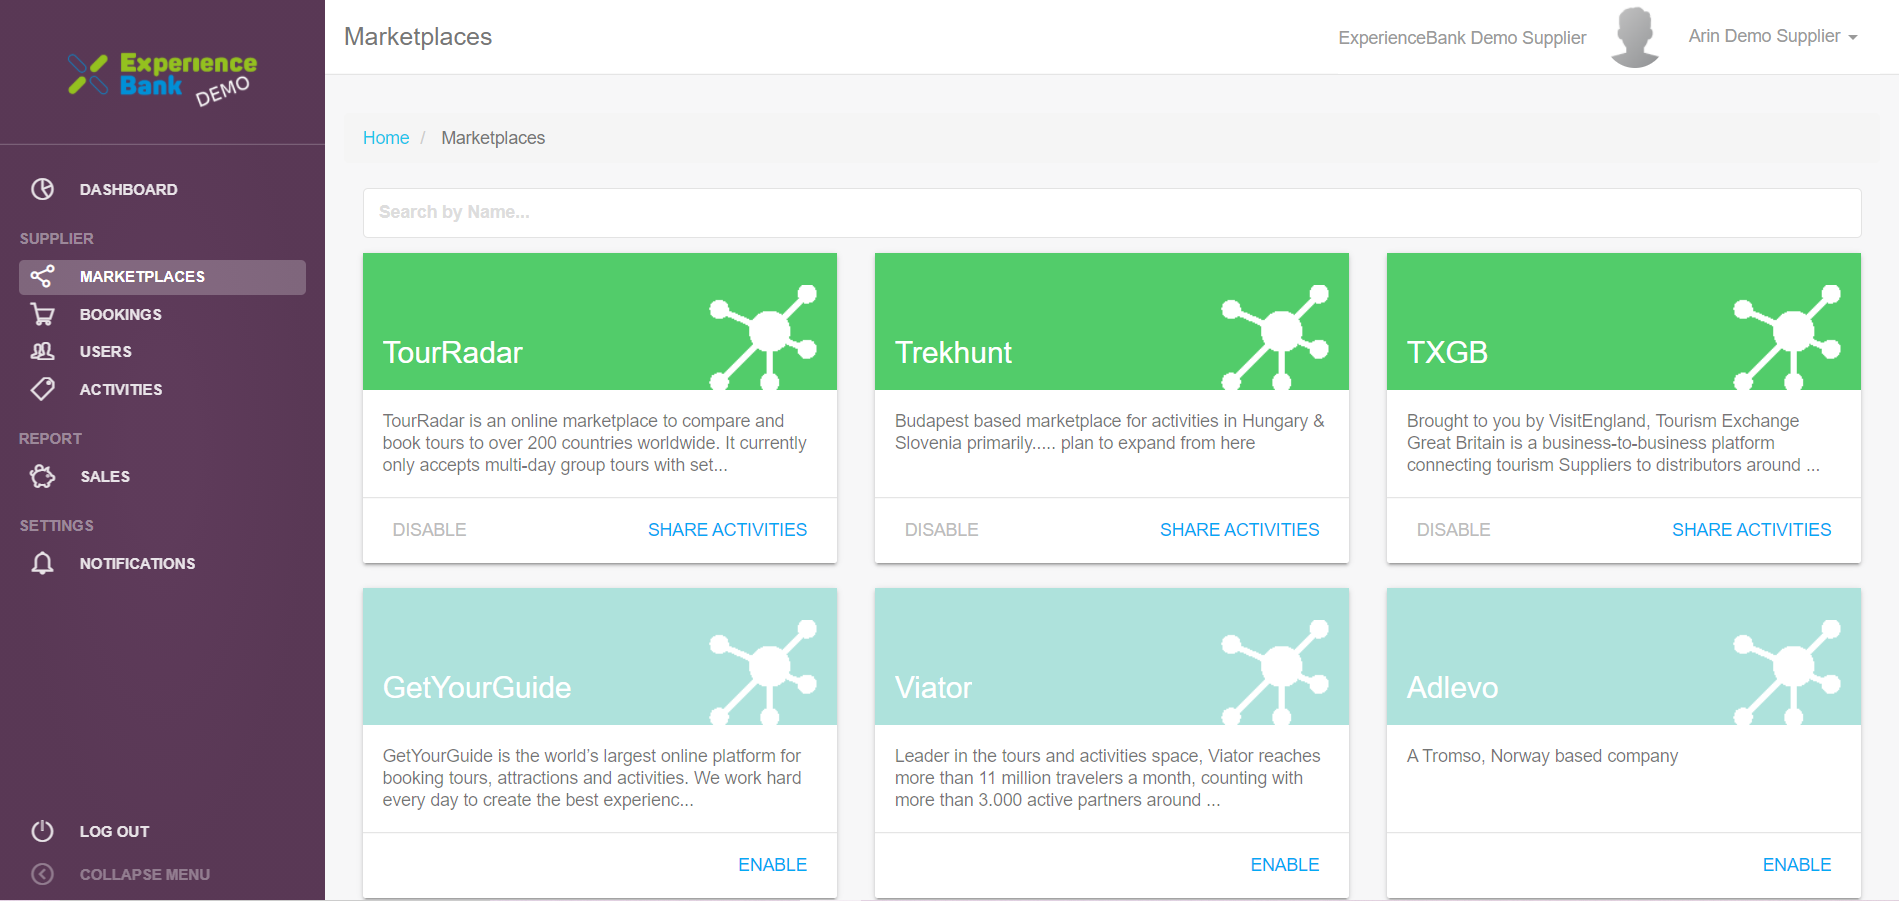
After successfully logging in, you will be redirected to the ExperienceBank dashboard as seen in the image below:
Step 2. Open the SALES page on the ExperienceBank BackOffice
To open the sale page, you need to click on the SALES link found under REPORT in the Menu section to the left.
Step 3. Request Sales report
To request a sales report you need to follow these steps:
-
Select the required From Date and Until Date – For Example, If I want to request a report from Jan 1, 2021, to Jan 31, 2021, then I select the required date on the calendar accordingly. Please see the animation below:
-
Select the MARKETPLACES – After selecting the date you will need to select the marketplace you want to generate the report for. For the purpose of this guide:– We are selecting “ABC Marketplace” from the list.
Note – Under the Marketplace dropdown list, you can select a specific marketplace OR you can select ALL marketplaces to get a global report including all OTAs.
Please see the animation below for selecting a marketplace:

-
Select the STATUS of Booking – In this step you will be selecting the status of the Bookings you want to include in your report. By default, it is set to the “Booked” option. For this guide, we have selected the “ALL” option from the dropdown list.
Note – Under the status dropdown, You can select ALL booking, Booked bookings, and Cancelled bookings as to determine what booking statuses to be included in the report.
Please see the animation below:

-
Select the DATE TYPE – Under the Date Type dropdown, we provide two options, Booking date & Activity date. By default, it is set to the “Booking date” option.
Booking Date – The Booking date is the date on which the guest booked the activity.
Activity Date – The Activity date is the date on which the activity takes place.
For the purpose of this guide, we have selected “Booking date” which is the default option.
Please see the animation below on how to do this:

-
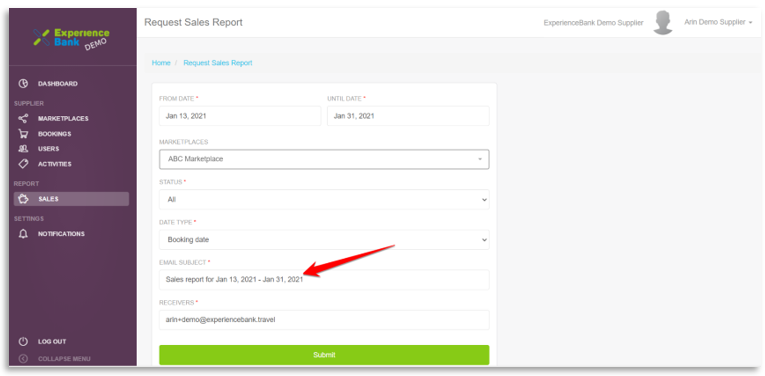
EMAIL SUBJECT – When you select From Date & Until Date from the calendar, the subject of the email is automatically names according to the dates selected. For Example, Sales report for Jan 1, 2021 – Jan 31, 2021. You can also change the Email subject to your liking.
-
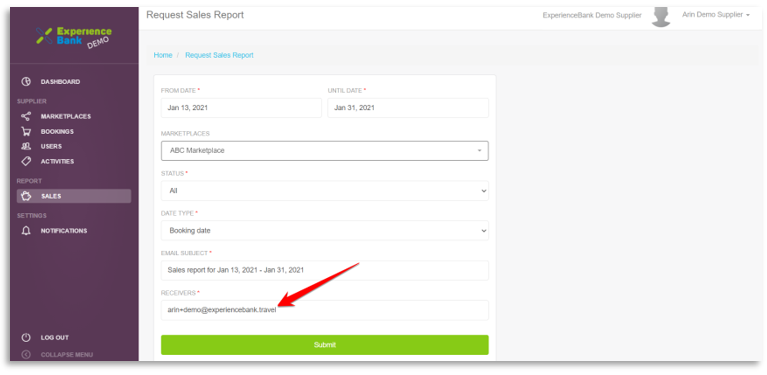
RECEIVERS – In the Receivers text box you have to write the email address you want to send this report to.
Note – You can introduce multiple email addresses for the receiver test box. Each email address should be separated by a comma. For example “exampleemail1@example.com,exampleemail2@.example.com”.
Lastly, You need to click on the Submit button found at the bottom of the screen. The sales report will now be generated and sent to the email addresses you have input previously. There may be a delay of a few minutes for the report to appear in your email inbox. If you have not found the email containing the report, please check your spam folder before contacting support.

In the image below, you can view the details included in the sales report you received.

If there’s anything you feel needs a more comprehensive presentation, you can write to us at support@experiencebank.travel. We would be happy to assist!