
Content enrichment on ExperienceBank for Google Things to do
How ExperienceBank can help there supplier’s to enrich the product content for Google Things to do
ExperienceBank was generous enough to grant certain suppliers the ability to individually add or update their content on the platform. This article will provide readers with a step-by-step guide on how they can properly create & update; submit content required for Google Things to do listing via ExperienceBank.
Prior to taking further action, it is important to ensure that you meet the eligibility criteria for Google Things to Do. You can check the eligibility criteria, here.
1. Login to ExperienceBank
Click on this URL https://app.experiencebank.io/ to open the login page of ExperienceBank.
Now, use your supplier contact Email ID to login (In case, you forgot 🤔 the password, you can click on the Forgot password link to retrieve your password).
“Cheers 😃 After the successful login, now you’ll be redirected to the ExperienceBank dashboard”
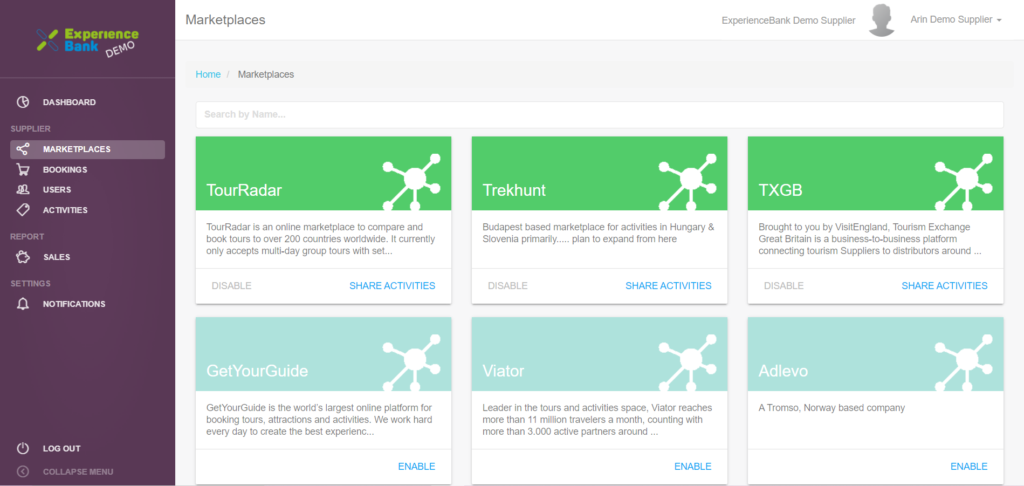
2. Request connection for Google Things to do.
It is important to request a connection with Google Things to do on ExperienceBank in order to use it. Following that, we’ll conduct an evaluation of your products’ eligibility for Google Things to do.
- If your product is eligible, we will accept your connection for you.
- If not, you can go ahead and take the advantage of this new feature from ExperienceBank to enrich your content. And you will need to update the product content in order to make it eligible for Google Things to do.
3. Add, Edit and update the product content.
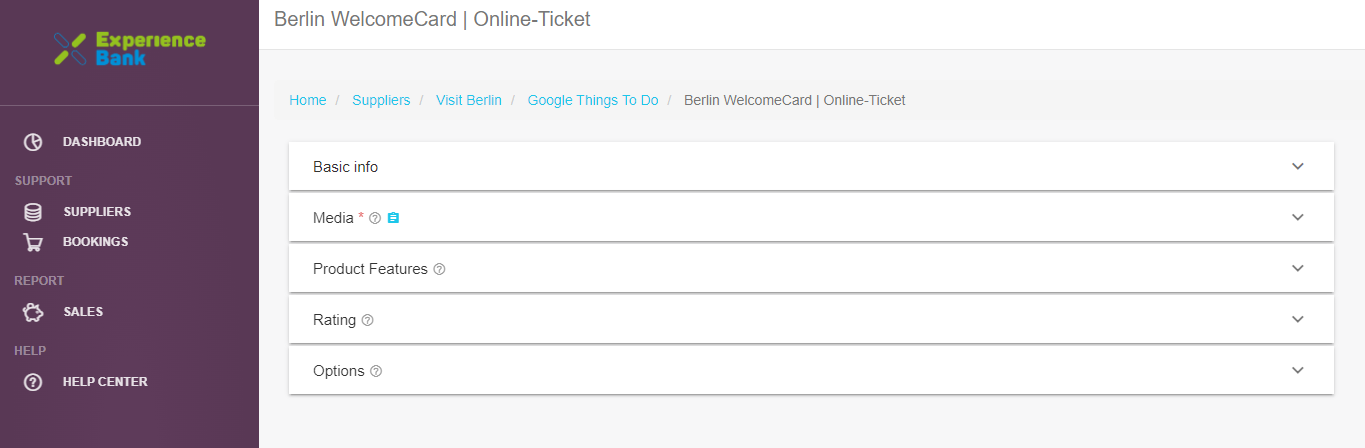
Basic Info (Product)
This section includes Title, Description, Inventory type, Confirmation type and Fulfillment type. While the Title and Description of the product can be received via API by default, you have the option to update them here if desired.
Inventory Type – Here you can choose what type of inventory you want. If your ticket site is an official one, set it to “official” – but if not, then select “default“. This setting is important and determines the type of inventory available.
Note – In order to assign an official type to a particular product, it must be linked to the registered ticket site of a point of interest. Access for setting this type is granted only after a thorough eligibility review.
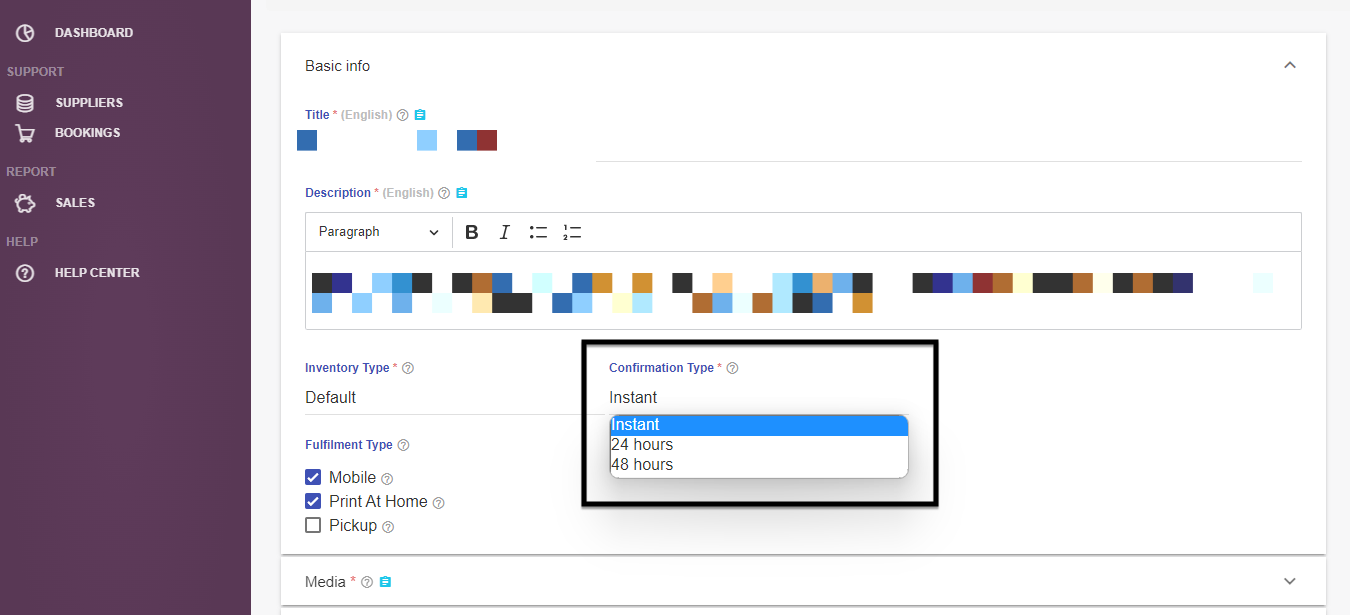
Confirmation Type – At this stage, you can select the type of confirmation for your booking from our three options. These are:
Instant confirmation – Pick this option to guarantee instant confirmation of the booking to your customer.
24 Hours – Pick this option if booking is confirmed to the end user within 24 hours.
48 Hours – Pick this option if booking is confirmed to the end user within 48 hours.
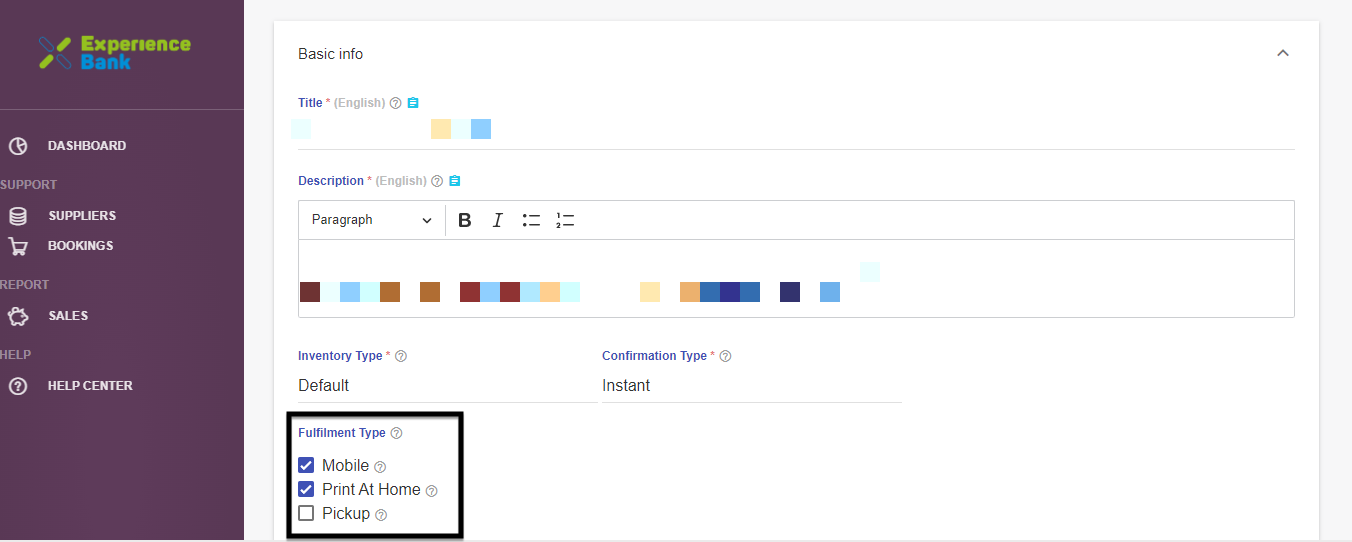
Fulfilment type – Here you can choose the method to acquire the booking ticket document. Combinations are possible – You can combine mobile with print-at-home or opt for print-at-home and pick up options.
Mobile – Select mobile if you want to receive booking confirmation on Mobile.
Print at Home – Select this option if you want to print your booking at your home.
Pick up –
Media
This section gives you the ability to add, edit and delete your product images. For optimal results, it is recommended that you upload more than one image in a single go as the maximum number of images allowed is thirty.
To help you understand the process more clearly, I am using a GIF animation in the steps below.
Step 1 – To get started, click on the down arrow of the media section. This will cause that section to open slightly downwards.
Step 2 – After clicking on the plus button, a window will appear where you need to enter the Image URL for your product in the first option under Image URL. This should be done in order to get started.
Step 3 – After you have added the image URL, make sure to click on the ‘Save’ button. (To give you a demonstration of how to copy/paste the image URL, I’ve picked a random travel image from Google.) To ensure the highest quality of visuals, you should use the URLs on your website for the images.
Note : Access the guidelines from Google for Images by clicking on the link below. It’s easy and can help you to make sure your images are compliant. https://developers.google.com/travel/things-to-do/guides/partner-integration/image-guidelines
Product Features
This section is where you can add noteworthy features, Highlights, Inclusions/Exclusions, Must Know and safety Information of your product. These details can be incorporated into your landing page.

Note – As a demonstration, I have already taken some notes in regards to this section so I can present to you how you can include the details from your landing webpage in the ExperienceBank under Product Features.
Step 1 – To get started, click on the down arrow of the Product Feature section. This will cause that section to open slightly downwards. Then you need to click on the down arrow of the Highlights section.
Step 2 – To add highlights of your product, click on the ‘+Add Highlights‘ link which can be found under the ‘highlights’ portion. Upon doing so, a section will open up enabling you to input any desired highlights for your product.
For your reference, please see the GIF animation below.
Note :- There isn’t much additional effort required to add Inclusions, Exclusions, Must Know and Safety Information as the process is identical to the steps outlined above.
Options –
This final section is essential to ensure that necessary information is kept up to date. This includes options categories, landing page, and Related locations.
Example of eligible options ➖
- Various access levels.
- 1 day Pass Vs 2 day Pass.
- Skip the line.
- Including audio guide.
- Weekend and Weekdays.
Example of Ineligible options ➖
- Different hours of the day, Season and month.
- Different user type (e.g.. Adult, child and veteran)
- Various events happening at the Point of Interest.
- Maximum no. of options is 20.
Here are the steps for you to manage your product options, like adding, editing, deleting and cloning them
4. How to edit the existing option-
Step 1 – Click on the down arrow of the options section. This will cause that section to open slightly downwards. Then look to the right side of your options and click on the three dots. If you click on the three dots, a small window will appear containing an itemized list.
Step 2 – When you click on an item, it will take you to the relevant section. For example, if you want to edit something, clicking ‘Edit’ will bring up an editing page.
For your reference, please see the GIF animation below.
Below are the option under Edit section –
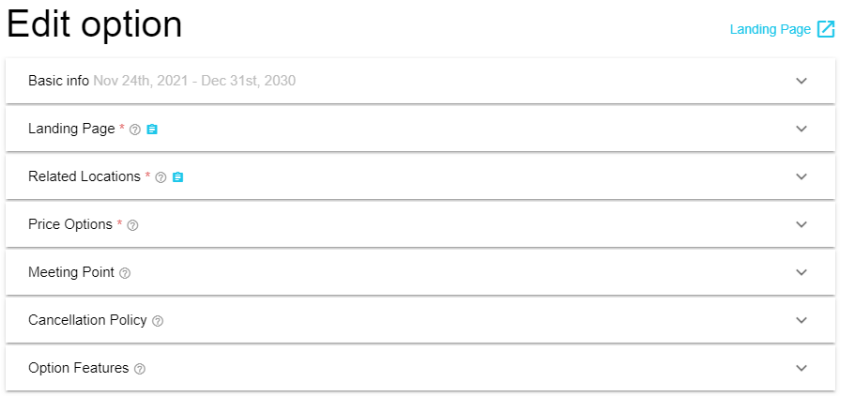
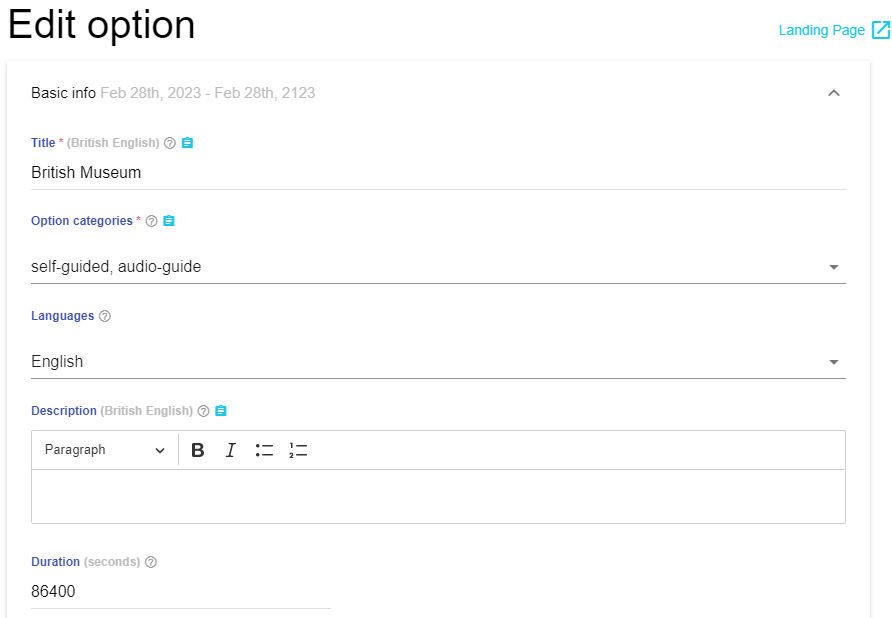
Basic Info (Option)
Title – Under this section you can edit the title of your option. IF there is only one single option then, the option title may be the same as the product title. If multiple product options are presented, the title must be unique to the option. Please refer to the Google guidelines for the Title.
As an example I added the British Museum for the title.

Option Categories – Here you need to select the category of your product option. Relevant categories for this option of particular importance, Please make sure self-guided is set for all non-tour bases activities and guided tour is set for tour based activities. Please refer to the Google guidelines for the option category.
As an example I select the self-guided and audio-guided for the option categories.
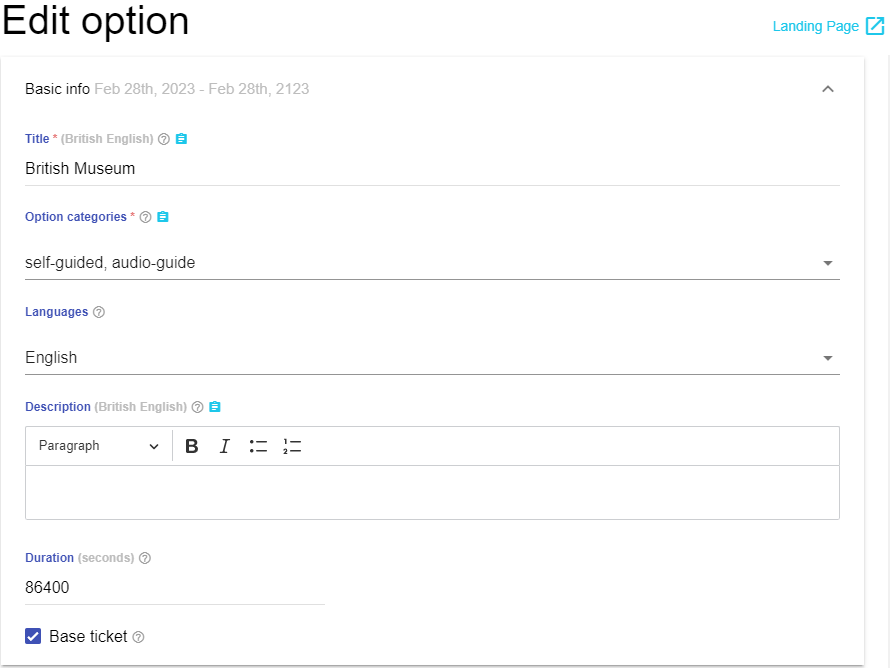
Note :- Title* and Option categories* are the mandatory fields for the Basic Info of Edit option section.
Languages – In this field, you have to add the supported languages of your product’s options. When it’s important for the end user to understand and/or read in the language to enjoy the experience. Example relevant for the guided tour.
As an example I select English from the list.

Description – In this field you need to add the description of your product option. As this one is the optional field you can leave it blank as well. Google guidelines for the product option description
Duration – You have to specify the duration of your product option in seconds in this field. Where it is applicable, for example: Guide tour, Boat trip etc. This should reflect the duration of an experience (not the validity time).
As an example I added 86400 seconds which is equal to 24 hours.
Base Ticket – If you have an entry ticket for your product, then you must select a base ticket for it.
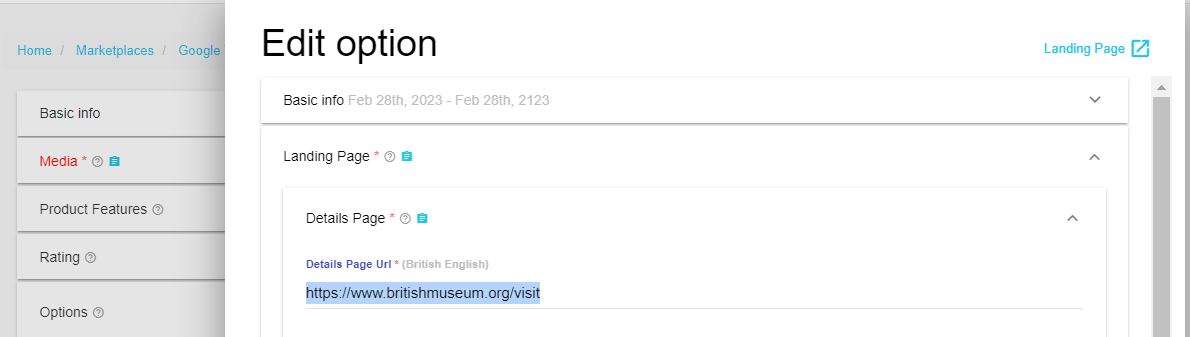
Landing Page
Details Page Url – It is essential to fill in the designated field with the URL of your landing page. This is so that customers searching on Google Things to do will be automatically taken to this webpage.Your Product details page should have a book now button. Google guidelines for the landing page url.
As an example I added the British museum landing page URL from the list.
Mobile details Page url – In this field you need to add the URL of your mobile landing page, which customers will be redirected to from Google. This field is not compulsory; if you don’t have a mobile detail page URL, you can just leave it empty.
Related locations – This is a required field; include the appropriate geographic information to link your attraction.
To do so, click on the “+ Add a related location” link which will open a window. On the top section of the map, you will need to enter the name of your attraction in a designated field.
As an example, I used Google Maps to locate the British Museum and subsequently selected it from the result. After choosing the British Museum from the search results, its Place ID and address will be instantly taken from Google.
Note: – Place Id is taken from the Places API. You can paste it under the Place Id field if you have it from the map once you click on a Point of Interest . This is the most preferred option to identify location as it is the most accurate and does contain any ambiguity as to the point of interest.
Type*
Admission Ticket – If the entrance ticket to an attraction is included in your reservation, make sure to choose “Admission Ticket”.
No Admission – If the entrance ticket to an attraction is not included in your reservation, make sure to choose “No Admission”.
Supplementary Addon – Relation declares an additional service which doesn’t get the user into the related locations. For example, a parking ticket, a temporary exhibition etc.
Description – You can add a description of the related locations if you have information regarding it. However, if you don’t have the necessary details, then you can simply leave it blank.
Price Option
To create a new price from scratch you need to click on the “+Add price option” link to open up a new window. To create a new price from scratch, click on the “Create a New One from scratch” link. When you do, an edit-price window will appear where you can add the necessary information,
- The Title of your price for example:- Adult, Child, Senior etc.
- Currency code for example: – Euro, CHF, INR etc.
- Amount of your pricing option.
Please see the GIF animation below for your reference.
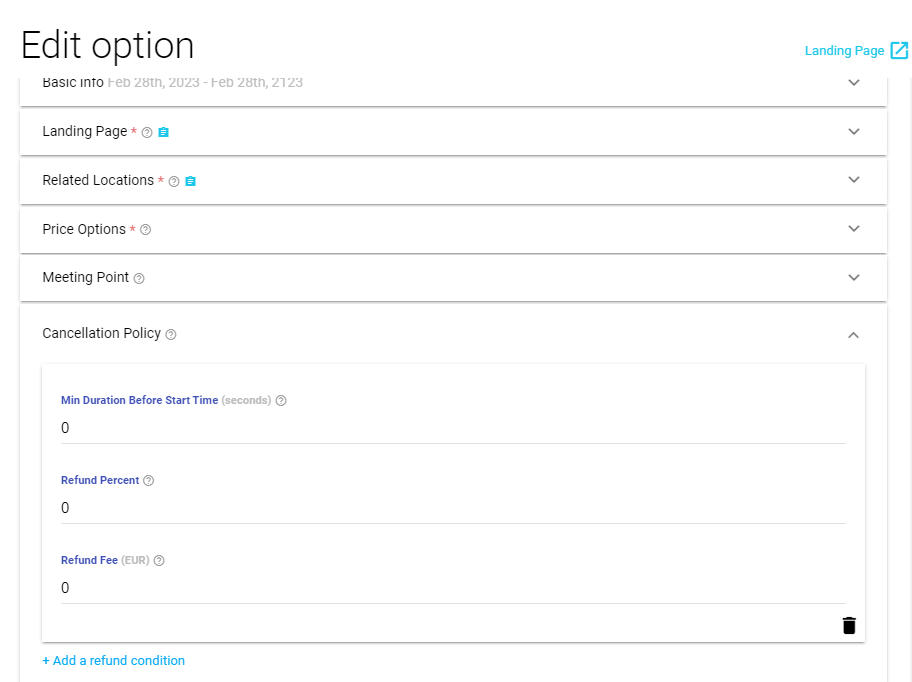
Cancellation Policy
Under this section you can add your cancellation policy and define refund conditions. Multiple refund conditions could be used together to describe “refund steps” as various durations before the service start time.
- Min duration before Start time – Duration in seconds before the start time, until when the customer can receive a refund for part of the service’s cost specified in refund percent. When unset or set to 0 the service can be canceled at any time.
- Refund Percent – The percentage that can be refunded, as long as the service booking is canceled at least min duration before start time before the service start time, in the range of [0,100] when unset and set to 0, the service is not refundable. When set to 100 this service is fully refundable.
Refund Fee – A flat fee deducted on refund. Could be used separately, or in combination with the refund percent above. In the later case, refund percent applies first, then the dee is deducted.
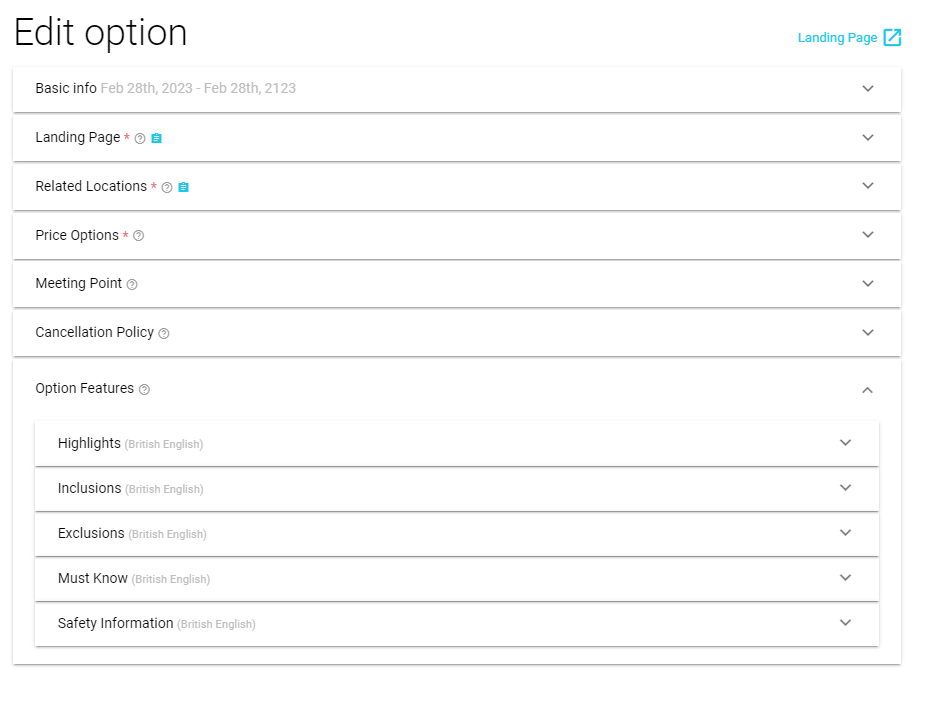
Option Feature
In this section you can add the Highlights, inclusion, exclusion, Must know and safety Information. When adding details for the options of a product, you should avoid repeating the same information that you have already provided at the product level. The process, however, is quite similar to what it was when only dealing with a single product.
Lastly, Click on the save button to save the all changes you make it. Once you have made all the changes correctly and still your product is not visible under Google thing to do you can email us at support@experiencebank.travel.